
Your Guide to TPLO Recovery for Dogs
If your veterinarian has suggested TPLO surgery for your dog's torn CCL, you're probably filled with questions about what comes next. A successful TPLO recovery is a journey, not a sprint, usually taking about 12 to 16 weeks. The success of this journey hinges almost entirely on your dedication to post-operative care, starting with strict rest and slowly moving toward controlled exercise. It's all about getting your dog back to a happy, active life.
Navigating Your Dog's TPLO Surgery
When a dog tears its cranial cruciate ligament (CCL), the knee joint becomes unstable. This instability leads to pain, a noticeable limp, and, over time, significant muscle loss. The Tibial Plateau Leveling Osteotomy, or TPLO, is a surgical procedure designed to permanently fix this problem.
Instead of just repairing the ligament, the surgery actually changes the angle of the tibia (the shin bone). This clever adjustment makes the CCL unnecessary for stabilizing the knee, creating a stable joint for the long haul.
Why TPLO is a Trusted Solution
This procedure is widely seen as the gold standard for fixing CCL tears, particularly in larger or more active dogs. Why? Because it works. The data consistently shows that TPLO surgery boasts an impressive success rate of 90% to 95%. This leads to faster bone healing and restored knee function. Many dogs are back to near-normal activity levels within six months, which is a huge win.
To give you a clearer picture, we've put together a table that breaks down the main recovery stages. Think of it as a roadmap for the next few months.
Key Phases of TPLO Recovery at a Glance
This table provides a quick overview of the main recovery stages, key goals for each phase, and the approximate duration to help you prepare.
|
Recovery Phase |
Approximate Timeline |
Primary Goal |
|
Phase 1: Initial Healing & Strict Rest |
Weeks 1-2 |
Manage pain, protect the incision, and allow the bone to begin healing. Minimal activity is crucial. |
|
Phase 2: Gradual Reintroduction to Activity |
Weeks 3-8 |
Begin controlled, short leash walks. Start gentle rehabilitation exercises. Monitor for any signs of discomfort. |
|
Phase 3: Building Strength & Endurance |
Weeks 9-12 |
Increase walk duration and introduce more challenging rehab exercises. Focus on rebuilding muscle mass. |
|
Phase 4: Return to Normal Activity |
Weeks 13-16+ |
Gradually reintroduce off-leash play and normal activities, pending vet approval after follow-up x-rays. |
This timeline helps you see how each phase builds on the last, ensuring a safe and steady return to function.

As the infographic shows, the TPLO recovery process is structured and progressive. It starts with almost total rest and slowly builds toward strengthening and getting your dog back to their old self.
Your Role in the Healing Process
Your dog's surgeon does the critical work upfront, but the long-term success of the surgery truly rests on your shoulders. A smooth recovery demands your commitment to a structured plan. This includes:
Strict confinement in the first few weeks is non-negotiable. This protects the healing bone from stress.
Proper pain management is key to keeping your dog comfortable and promoting healing.
Controlled, gradual exercise will rebuild muscle without putting the repair at risk.
Diligent wound care helps prevent infection and other setbacks that could derail the recovery.
Understanding what the surgery entails is a great first step. For a more detailed look at the procedure itself, you can read our guide on TPLO surgery for dogs. This whole process is a partnership between you, your dog, and your veterinary team.
The Critical First Two Weeks at Home
When you bring your dog home after TPLO surgery, you're stepping into the most intensive part of their recovery. These first 14 days are the foundation for everything that follows. Your diligence now has a direct impact on the long-term success of the procedure.
Your main jobs? Manage pain, protect that incision like a hawk, and enforce absolute rest.
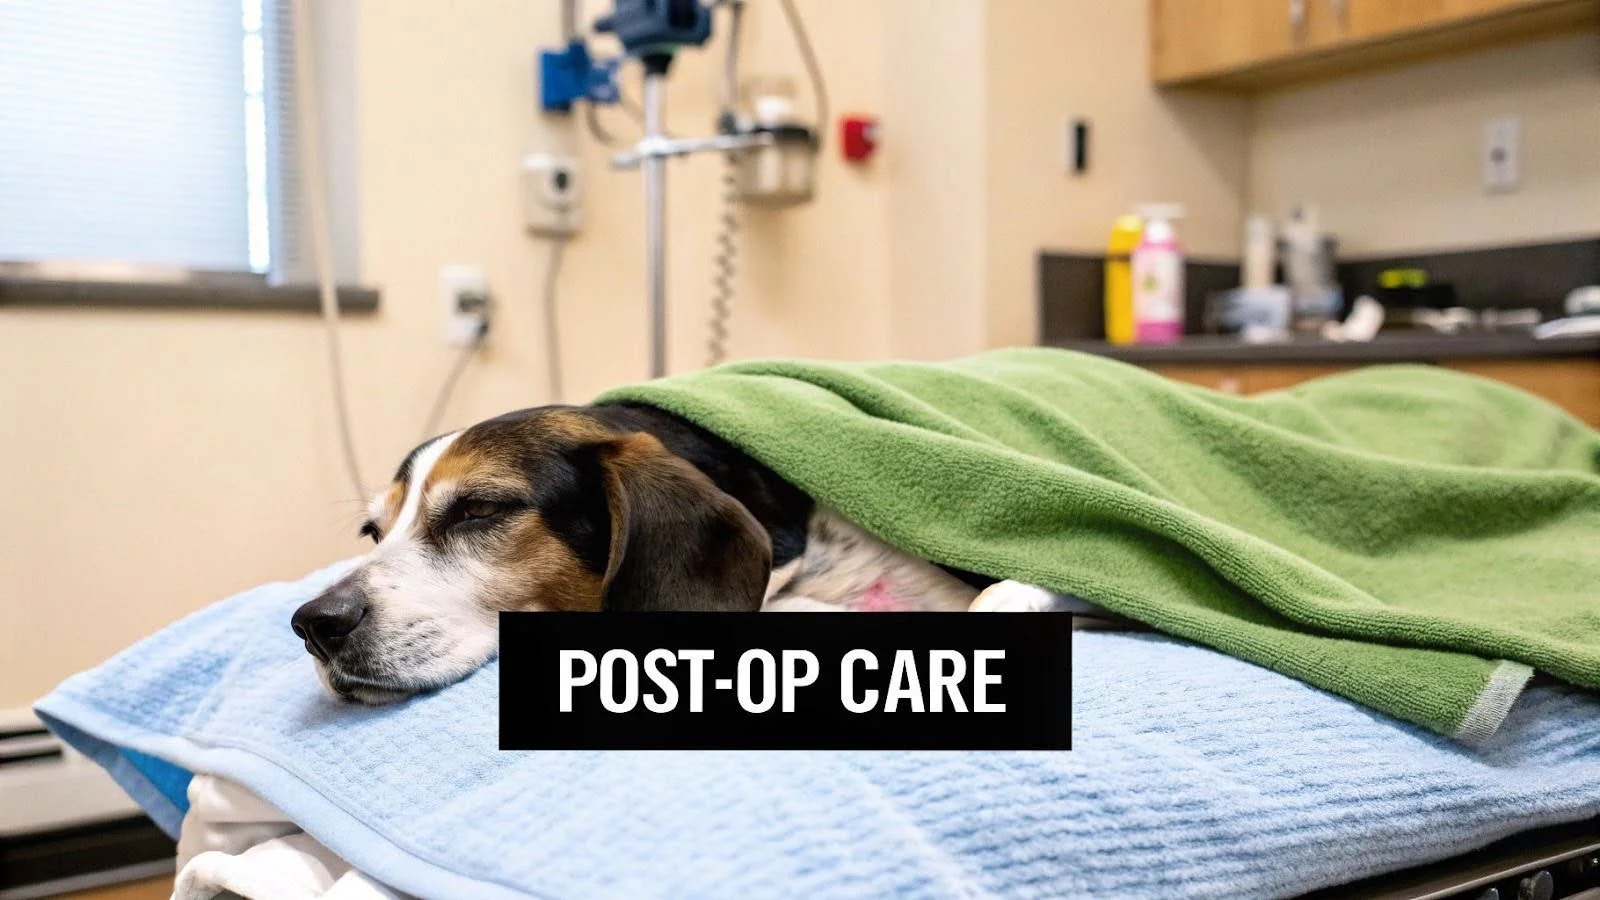
Your dog will likely be groggy, quiet, and maybe a little out of it from the anesthesia and medications. That’s perfectly normal. Your goal is to create a calm, peaceful space that lets them rest and heal, which is exactly what they need to get the TPLO recovery process off to a smooth start.
Setting Up a Safe Recovery Den
To prevent any running, jumping, or sudden movements that could wreck the surgical repair, your dog must be confined to a small, secure area. A large crate or a small, puppy-proofed room is perfect for this.
Make this "recovery den" as comfortable as you can with clean, plush bedding. Keep food and water bowls right there so they don't have to go far. This strict confinement is not up for debate for the first few weeks. A single misstep can cause a huge setback.
Key Insight: It’s so tempting to feel sorry for your dog and let them out of confinement too soon. I see it all the time. But please remember, this temporary lockdown is essential for protecting the significant investment you've made in their joint health and future mobility.
Managing Pain and Medication
Your veterinarian will send you home with a strict schedule of pain relievers and anti-inflammatory meds. It is absolutely critical to administer every single dose on time, even if your dog seems to be doing okay. Staying ahead of the pain is much, much easier than trying to get it under control after it’s already flared up.
Dogs are masters at hiding pain, but subtle signs can give them away:
Restlessness or being unable to settle down
Excessive panting or whining
Not wanting to eat
Hiding or avoiding you
If you spot any of these, call your vet. And never, ever give your dog over-the-counter human pain medication—many are toxic to them. For more general advice, our guide on what to expect during dog surgery recovery has some great additional tips.
Incision Care and Potty Breaks
Keeping the incision clean and dry is non-negotiable for preventing infection. That means no baths and absolutely no letting your dog lick or chew at the sutures.
An Elizabethan collar (the "cone of shame") is mandatory. I know, your dog will hate it. But a post-surgical infection is a serious complication that could mean another surgery. Check the incision daily for any excessive redness, swelling, or unusual discharge, and call your surgical team immediately if anything looks off.
Potty breaks need to be short, frequent, and totally controlled.
Use a Sling: Your dog will be wobbly. Use a sling or even a rolled-up towel under their belly to support their back end as you walk them outside on a short leash.
Keep It Brief: These trips are strictly business—for elimination only, not for sniffing adventures. Aim for five minutes or less.
Avoid Obstacles: Stick to flat, non-slippery ground. Stay completely away from stairs, hills, and slick floors.
These first two weeks require a lot of patience and watchfulness from you. But by managing this period carefully, you’re setting the stage for solid bone healing and a smooth road to recovery.
Weeks 3 to 8: Focusing on Bone Healing

Once you hit the third week of TPLO recovery, you're moving out of the initial high-alert phase. The surgical trauma is healing up, but this next stage is arguably just as critical. Your mission now becomes a delicate balancing act: protecting the slow, deliberate process of bone healing while gently preventing the major muscle loss that comes with inactivity.
This is where your patience will be tested. Your dog will likely start feeling much better, which can give you a false sense of security. It’s your job to stay firm as the loving enforcer of the rules, because that new bone plate and screws are working overtime beneath the surface.
Introducing Controlled Movement and Walks
By now, you might see your dog starting to touch their toes to the ground or even place a little weight on the leg during slow, leashed walks. This is a fantastic sign! It's time to slowly and methodically turn those brief potty breaks into structured, therapeutic walks.
Start by adding just a few minutes to your five-minute potty trips, aiming for seven or eight-minute slow walks. Stick to a flat, even surface like a sidewalk. The goal here isn’t about covering distance; it's all about controlled, repetitive motion that encourages gentle weight-bearing.
A Gradual Walk Progression Plan:
Weeks 3-4: Build up to 10-15 minute walks, twice daily. Keep a close eye on your dog for any signs of limping, fatigue, or holding the leg up.
Weeks 5-6: If everything looks good, you can extend those walks to 15-20 minutes. The pace should stay slow and steady—no jogging!
Weeks 7-8: Gradually work your way up to 20-30 minute walks. At this point, you should see your dog using the leg with more confidence and consistency.
If you ever notice your dog seems sore or more tired than usual after a walk, just scale back the duration for a day or two. That's their body telling you it needs a bit more time.
Expert Tip: Think of this phase like a marathon, not a sprint. Every controlled step is a small victory for bone healing. Rushing things now is the single biggest mistake owners make, and it can lead to major setbacks or even compromise the surgical implant.
Preventing Household Hazards
Inside your home, the strict confinement rules are still very much in effect, especially when you can't be there to supervise directly. One unsupervised moment can lead to a disastrous leap off the couch or a slip and fall on a slick floor.
No Free Roaming: Your dog must stay in their crate or confined area whenever you aren't right there with them.
Block All Stairs: Baby gates are non-negotiable. Make sure they can't even attempt to go up or down stairs on their own.
Tackle Slippery Floors: Lay down non-slip rugs or yoga mats on any tile, laminate, or hardwood floors. Create safe, grippy pathways from their crate to the door.
Gentle At-Home Rehabilitation Exercises
Along with the controlled walks, you can start some simple, passive range-of-motion (PROM) exercises. These movements help keep the joints flexible and stimulate blood flow without putting any stress on the healing bone. The best time to do them is when your dog is calm and relaxed, maybe right after a nap.
Gently support the leg and slowly flex and extend the knee, ankle, and hip. Only move the limb until you feel mild resistance—never force it. Aim for 10-15 slow repetitions, once or twice a day, as long as your dog tolerates it. This small action can make a huge difference in preventing joint stiffness later on.
The full TPLO recovery journey typically takes about 16 weeks, but these first eight weeks are absolutely paramount for bone healing. It's this combination of expert surgery and your diligent post-op care that leads to over 90% of dogs regaining full, pain-free use of their knee. This structured approach, often managed through comprehensive packages at veterinary centers, is a key reason for the surgery’s high success and owner satisfaction rates. You can learn more about the global standards for TPLO surgery recovery.
Weeks 9 to 16: Rebuilding Strength and Mobility
Alright, you’ve made it. Once your veterinarian looks at those 8-week x-rays and gives you the all-clear, you’re officially in the home stretch. This is easily the most rewarding part of your dog’s TPLO recovery. The bone has healed, the implant is secure, and your dog is probably feeling a whole lot more like themselves.
Now, our focus pivots from strict protection to actively rebuilding what was lost. We’re talking about muscle, balance, and endurance. You'll start to see glimpses of your old, happy dog again, which is a fantastic feeling. But this isn't a free-for-all. A gradual, structured plan is still the key to avoiding setbacks. This final phase is all about building a solid foundation for a lifetime of safe, fun activity.
Advanced At-Home Rehabilitation Exercises
With the bone now solid, we can introduce more dynamic, controlled exercises. These are designed to challenge your dog's muscles and coordination in a low-impact way, strengthening the entire hindlimb and core.
Start incorporating these into your routine two to three times a week. It's important to do them on non-consecutive days to give those muscles time to recover. Keep the sessions short—about 5-10 minutes is plenty—and always watch for any signs of fatigue or soreness.
Sit-to-Stands: Ask your dog to sit, then immediately cue them to stand up. Repeat this 5-10 times. It’s a surprisingly powerful exercise for strengthening the quadriceps and glutes.
Slow Hill or Incline Walks: Find a gentle, grassy slope and slowly walk your dog up and down it for about 5 minutes. Walking uphill targets the rear leg muscles for power, while the slow, controlled walk downhill engages the muscles needed for braking and stability.
Cavaletti Poles: You don’t need anything fancy for this. Just lay a few broomsticks or PVC pipes on the ground, spaced about one dog-length apart. Then, slowly walk your dog over them. The goal is to get them to lift each leg deliberately, which is fantastic for improving proprioception—their awareness of where their limbs are in space.
A Glimpse of the Old You: This is when you might see that tail start wagging more on walks, or your dog might even try to initiate a little play bow. It’s wonderful, but remember their enthusiasm often outpaces their physical readiness. Stay the course with your structured plan.
The Power of Formal Physical Therapy
While these home exercises are great, there's no substitute for formal physical therapy with a certified canine rehabilitation specialist. If your budget and schedule allow for it, this is an incredible investment in your dog’s long-term health. A professional can use specialized equipment to target specific muscle groups and speed up progress safely.
Two of the most effective and common therapies you'll encounter are:
Underwater Treadmill: This is the gold standard for post-TPLO rehab for a reason. The water's buoyancy supports your dog's body weight, taking stress off the healing joint. At the same time, the water provides resistance, helping build muscle much faster than walking on land alone.
Therapeutic Laser: This is a non-invasive treatment that uses light energy to dial down inflammation, ease pain, and accelerate tissue healing right at the cellular level. It’s especially helpful for managing any soreness that might pop up after an exercise session.
Your surgeon or primary vet can usually recommend a qualified specialist. As you look into it, you'll discover there are many different canine physical therapy exercises that a professional can tailor to your dog's exact needs.
By the end of this 16-week period, your dog should be walking and trotting with a near-normal gait. After one final check and approval from your vet, you can finally start reintroducing off-leash fun and get back to the life you both love.
Maintaining Lifelong Joint Health Post-TPLO

Getting to the end of the 16-week TPLO recovery period is a huge accomplishment, but the journey isn't over. Now, the focus shifts from short-term healing to long-term joint management. Your dog has a high-performance orthopedic implant, and protecting that investment requires a proactive mindset for the rest of their life.
Let's be realistic: even with a perfectly stabilized knee, some degree of arthritis is inevitable. The original injury and the surgery itself create changes inside the joint that will progress over time. The good news? You have a massive amount of control over how quickly that happens and how much it impacts your dog's quality of life.
The Single Most Important Factor: Body Weight
If you take only one piece of advice to heart, let it be this: keep your dog at a lean, healthy body weight. Every extra pound puts compounding stress not only on the surgically repaired knee but on all of their joints. This is especially critical for the other knee, which we know is already at a higher risk for a future CCL tear.
Think of it this way—carrying extra weight is like forcing your dog to wear a heavy backpack on every single walk, every time they jump on the couch, and every time they get up from a nap. Managing their diet and maintaining consistent, appropriate exercise is the most powerful tool you have to protect your surgical investment and promote a long, comfortable life.
Key Takeaway: Maintaining a lean body condition is the most effective, non-surgical way to slow the progression of arthritis and protect the other knee from injury. It has a greater impact than any supplement or therapy.
Proactive Strategies for Long-Term Wellness
Beyond weight management, a few other key strategies will help keep your dog comfortable and active for years to come. Think of these as the supporting cast to your superstar, which is lean body weight.
Joint Supplements: A high-quality joint supplement with glucosamine, chondroitin, and MSM can provide the building blocks for healthy cartilage and help reduce inflammation.
Omega-3 Fatty Acids: Sourced from fish oil, these are natural anti-inflammatories that are fantastic for managing the low-grade, chronic inflammation associated with arthritis.
Consistent, Low-Impact Exercise: Regular activity is non-negotiable. Activities like brisk leash walks or swimming are perfect for keeping muscles strong and joints mobile without the high-impact stress of things like fetching a frisbee or jumping.
Long-term studies on TPLO outcomes are incredibly positive, showing that approximately 90.4% of dogs return to good or even excellent function years after their surgery. While a moderate progression of arthritis is expected, a well-rounded management plan—which includes your veterinarian's assessment of meniscal health during the operation and your diligent post-op care—dramatically improves these results.
To see what the research says, you can explore the data on TPLO success rates. This lifelong commitment to your dog’s joint health is the final, and most important, step in the TPLO journey.
Of course. Here is the rewritten section, crafted to sound like it was written by an experienced human expert.
Common Questions About TPLO Recovery
Even with a detailed plan in hand, you're bound to have questions as you guide your dog through TPLO recovery. It’s completely normal to feel a little anxious or second-guess what you're seeing. Let's walk through some of the most common concerns I hear from pet owners to help give you some clarity and peace of mind.
One of the biggest hurdles is managing activity. After weeks of keeping your dog on a short leash, it's so tempting to loosen the reins the moment they start acting like their old self. But jumping back into action too soon is one of the main reasons we see setbacks. That healing bone and soft tissue are still surprisingly fragile, even when your dog’s spirit is screaming, "I'm fine, let's go!"
How Much Swelling Is Normal?
It’s completely normal to see some swelling around your dog’s knee, and it often travels down toward their ankle after a major surgery like this. Think of it as the body’s natural reaction to the procedure. This swelling usually peaks in the first few days and should start to gradually subside after that.
Using a cold pack wrapped in a thin towel on the area for 10-15 minutes at a time, several times a day, can make a huge difference during that first week. If, however, you notice the swelling suddenly worsens, feels hot to the touch, or you see a foul-smelling discharge, don't wait. Call your veterinarian right away, as these are red flags for a possible infection.
Expert Insight: A lot of owners get worried when they see bruising creep down the leg, sometimes all the way to the paw. This is usually just gravity doing its thing and is rarely a cause for alarm, provided the incision itself looks clean and there isn't any new, excessive swelling.
When Will My Dog Stop Limping?
Patience is everything here. Your dog just had their entire knee joint surgically rebuilt, so a limp is absolutely expected for a while. Most dogs will start with some tentative "toe-touching" within the first one to two weeks, and the limp should slowly but surely get better from there.
By week four, you'll likely still see a mild limp, especially after they've been resting, but by the eight-week mark, their gait should look much more solid. If your dog is still limping heavily after four weeks, or if they suddenly start limping worse after a period of improvement, it’s time to call your vet to make sure everything is on track.
It's important to remember that seeing a completely normal, confident stride often doesn't happen until the three to six-month mark, once they’ve had enough time and proper rehab to rebuild all that lost muscle.