
Your Guide to TPLO Surgery for Dogs
If your veterinarian has brought up TPLO surgery, you're probably feeling a little overwhelmed. It's a big term, and it's natural to have a lot of questions.
Put simply, a Tibial Plateau Leveling Osteotomy (TPLO) is a highly successful surgery designed to permanently stabilize your dog's knee after they tear their Cranial Cruciate Ligament (CCL). This ligament is a lot like the ACL in humans. For active or larger dogs especially, TPLO is often considered the best path forward to get them back on their paws, pain-free.
Understanding TPLO Surgery and Why Dogs Need It
Hearing that your dog needs a major orthopedic surgery can be scary. The medical terms are confusing, and it's hard to know what to expect. Let's walk through what a CCL tear actually is and why TPLO is such a durable, long-term fix.
The Cranial Cruciate Ligament, or CCL, is a tough band of tissue inside the knee. Its main job is to keep the shin bone (tibia) from sliding forward when your dog puts weight on their leg. When that ligament tears, the whole knee becomes unstable, leading to pain, swelling, and a very noticeable limp.
An Easy Way to Picture an Unstable Knee
Imagine your dog's knee is like a wagon parked on a steep hill. The CCL is the rope holding the wagon securely in place. When that rope snaps (the CCL ruptures), the wagon—the thigh bone (femur)—slides down the slope of the shin bone (the tibial plateau) with every single step.
This constant, painful slipping is what causes further damage and arthritis. Instead of just trying to replace the "rope," which often fails again, TPLO surgery provides a more permanent, elegant solution.
TPLO surgery doesn't just patch the problem; it changes the physics of the knee. The surgeon makes a very precise, curved cut at the top of the shin bone and rotates it to flatten the "hill." Once the slope is level, the wagon no longer wants to slide, making the knee stable even without a functioning ligament.
This brilliant biomechanical change is what makes TPLO surgery so effective. It redesigns the joint so the CCL is no longer needed for stability.
Recognizing the Signs of a CCL Tear
A CCL tear can happen suddenly from a bad step during play, or it can develop slowly over time as the ligament weakens. As a pet owner, spotting the signs early is the first step toward getting your dog the help they need.
It's not always obvious, but a torn CCL has a few classic symptoms. The limp is usually the first thing owners notice, but other signs can help you and your vet pinpoint the problem quickly.
Signs Your Dog May Have a CCL Tear
If you see these signs, it's time for a vet visit. The sooner a CCL tear is diagnosed, the better the long-term outcome.
It’s no surprise that TPLO has become the go-to procedure worldwide for fixing CCL ruptures. The market for this surgery is projected to hit over USD 374.1 million by 2025. This incredible demand is driven by one thing: results. TPLO consistently helps dogs recover faster, restores proper knee function, and significantly lowers the risk of arthritis down the road compared to older techniques. You can learn more about the growing demand for canine orthopedic solutions and market trends.
When you're told your dog needs a major operation like TPLO surgery, it's natural to feel a mix of worry and uncertainty. But understanding exactly what happens during the procedure can turn that fear into confidence.
This isn't some experimental surgery; TPLO is a precise, well-established procedure performed by skilled surgeons every single day. Let's walk through the process step-by-step, so you can see just how much planning and care goes into getting your dog back on their paws.
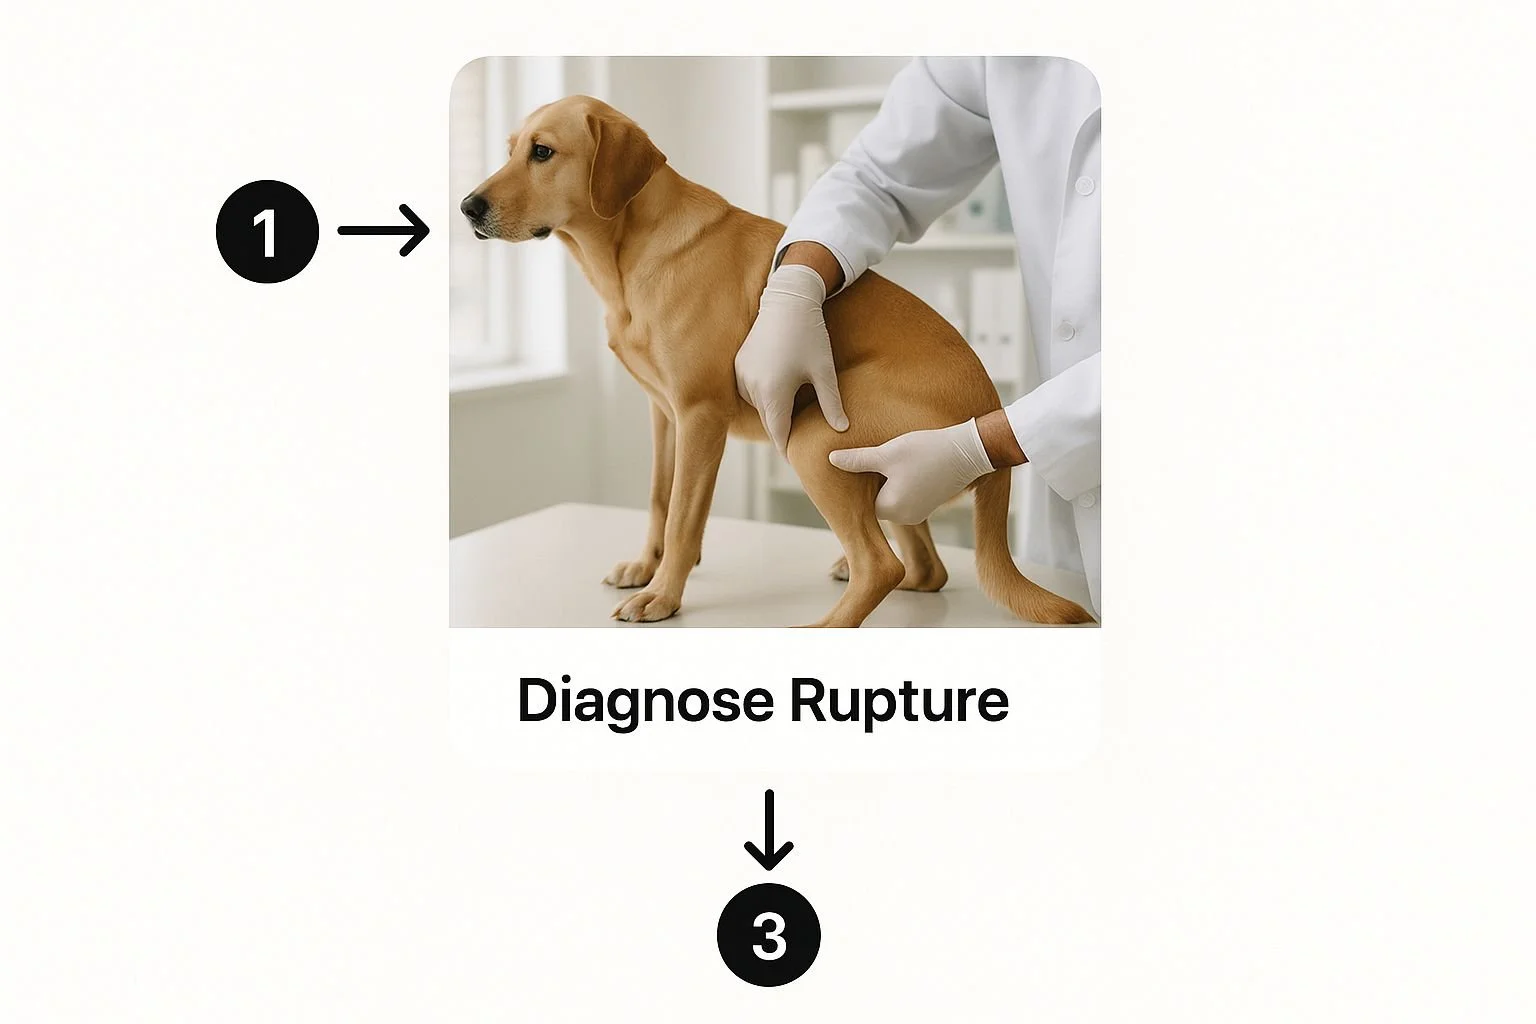
It all starts with a thorough diagnosis to confirm the CCL is torn and to check the overall health of the knee joint. This initial evaluation is crucial—it ensures TPLO surgery is truly the best path forward for your dog's specific injury.
Pre-Surgery Preparations
Before the operation, your dog will have a complete pre-operative evaluation. This usually includes blood work to make sure they're a good candidate for anesthesia, along with a final physical exam. You’ll also be asked to fast your dog for about 12 hours before the procedure, which is a standard safety measure to prevent complications.
Once cleared for surgery, your dog is given a pre-medication to help them relax and provide some initial pain control. An IV catheter is placed to deliver fluids, anesthetics, and other medications throughout the day. Finally, the surgical leg is carefully shaved and scrubbed with antiseptic solutions to create a sterile field, dramatically reducing any risk of infection.
The Surgical Procedure
In the operating room, your dog is placed under general anesthesia and connected to advanced monitoring equipment. A dedicated veterinary technician will be by their side the entire time, keeping a close watch on vital signs like heart rate, blood pressure, and oxygen levels to ensure your dog is safe and stable.
The surgeon then begins by making an incision on the inner side of the knee to get a clear view of the tibia, or shin bone.
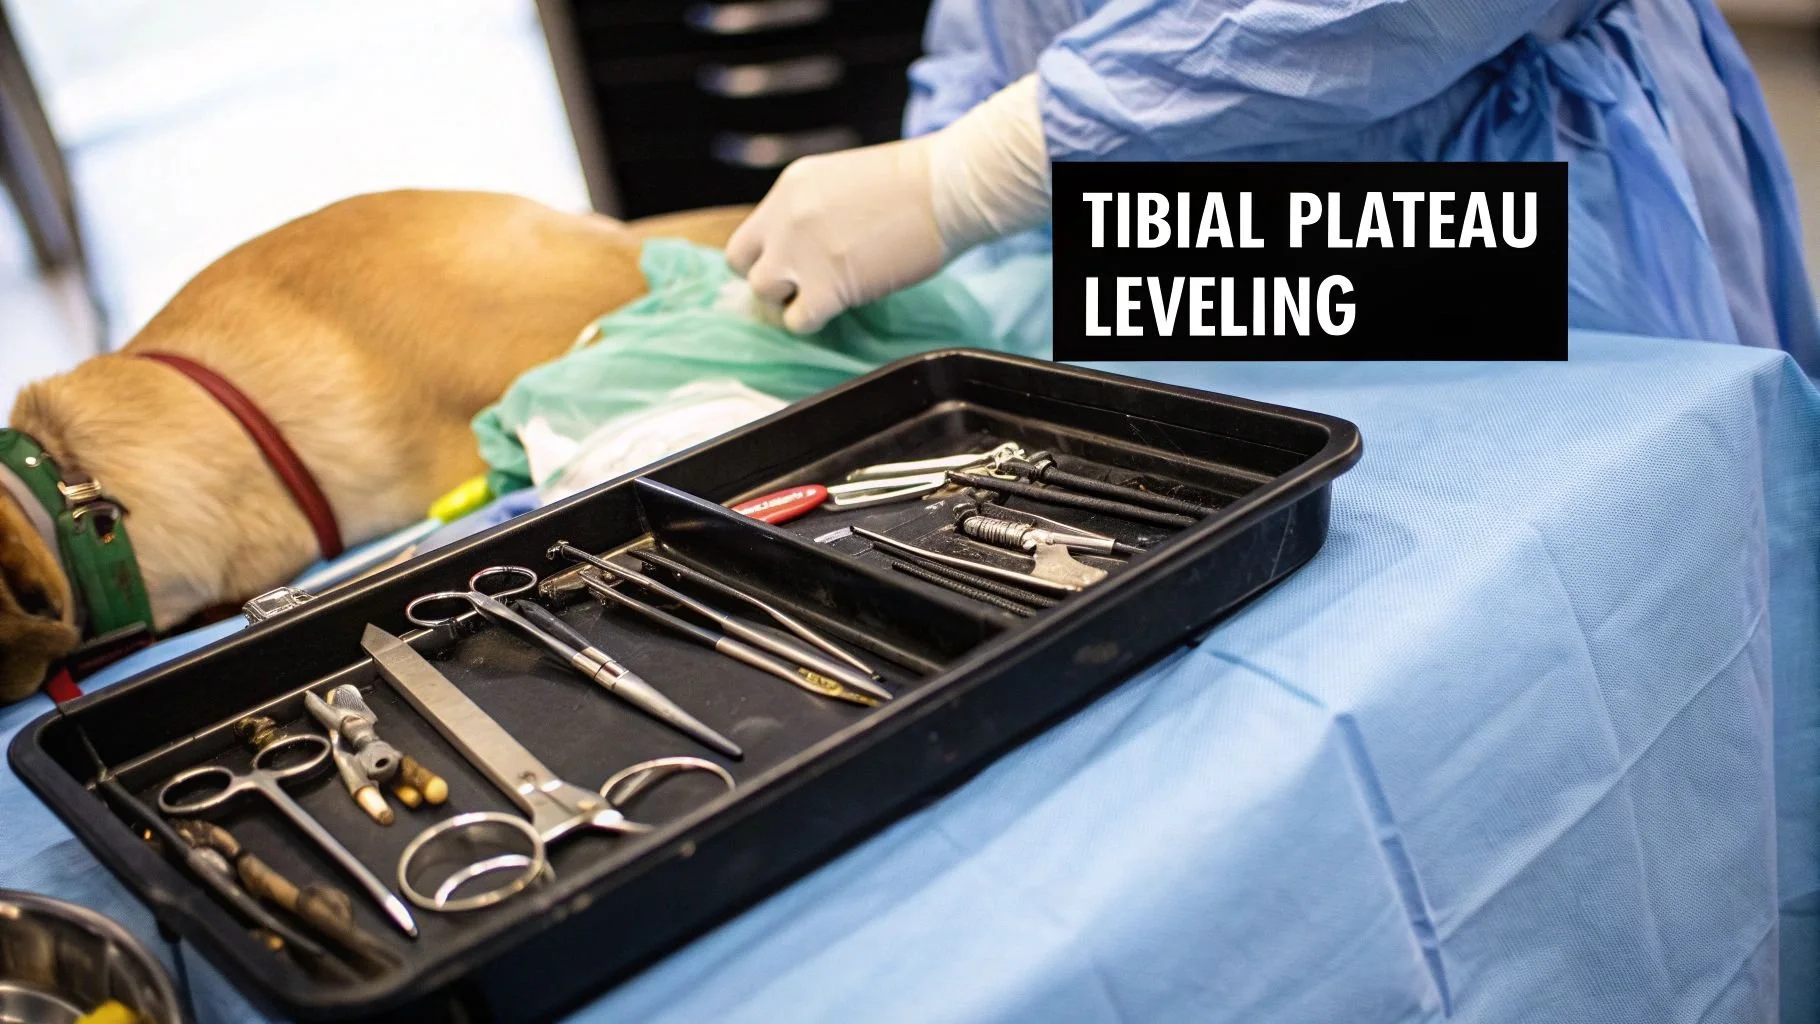
Making the Cut: The surgeon uses a special, curved surgical saw to make a very precise, semi-circular cut at the top of the tibia. This section is called the tibial plateau—it’s the sloped surface where the femur (thigh bone) rests.
Rotating the Bone: Next, that top piece of bone is carefully rotated to flatten the angle of the tibial plateau. This rotation is the entire point of the surgery. By leveling out this surface, the forward thrust that was causing instability is eliminated, creating a stable joint that no longer relies on the torn CCL.
Securing the Implant: With the bone rotated into its new, stable position, the surgeon applies a custom-sized, biocompatible metal plate and secures it with several surgical screws. This hardware acts like an internal cast, holding the bone securely in place while it heals.
This deliberate change in joint mechanics is what makes TPLO so effective. Instead of just patching up the damage, it redesigns the knee's function to provide a permanent, stable solution. This is why it offers such excellent long-term outcomes, especially for active dogs.
After the plate is secured, the surgeon thoroughly flushes the area and carefully closes the incision in layers. The very last step, before your dog gently wakes up, is to take a new set of X-rays.
These post-op X-rays are critical. They provide immediate confirmation that the bone alignment is perfect and the implants are exactly where they need to be, setting the stage for a smooth and successful recovery.
Comparing TPLO With Other Surgical Options
When your dog is diagnosed with a torn CCL, your veterinarian will walk you through a few surgical options. While TPLO surgery is the go-to recommendation for most, especially for larger or more active dogs, it’s not the only procedure out there. Getting a handle on the differences is key to making a confident decision with your vet.
Each surgical approach tackles the problem of knee instability from a different angle. You can think of it like this: TPLO fundamentally changes the joint's geometry for a permanent fix, while other methods try to either redirect muscle forces or simply mimic the torn ligament. The best choice really hinges on your dog's size, age, activity level, and the surgeon's specialized experience.
Extracapsular Repair: The Suture Method
The oldest and simplest technique is the Extracapsular Repair (ECR), which you might hear called the lateral suture or "fishing line" method. This procedure works by placing a very strong, medical-grade suture outside the knee joint itself, running in the same path as the original CCL.
This heavy-duty suture acts as a temporary stabilizer, giving the body time to build up scar tissue around the joint over several months. In theory, this scar tissue eventually becomes strong enough to stabilize the knee on its own.
Best For: ECR is most often reserved for smaller, less active dogs, typically under 25-30 pounds.
The Downside: The suture can easily stretch or break over time, especially in bigger or more energetic dogs. This leads to the instability returning and a much higher risk of progressive arthritis down the road.
Tibial Tuberosity Advancement: The Force Redirector
A more modern technique is the Tibial Tuberosity Advancement (TTA). Just like TPLO, TTA is an osteotomy, which means it involves strategically cutting and repositioning bone. But instead of changing the angle of the tibial plateau, TTA moves the part of the tibia where the powerful patellar tendon attaches.
By moving this attachment point forward, TTA changes the physics of the knee and neutralizes the forward thrust that causes instability when your dog bears weight. It's a clever way to solve the problem, but TPLO has generally become the more trusted and widely performed osteotomy among specialists. To get a full picture of all the procedures, you can explore these alternatives to TPLO surgery for dogs.
TPLO: The Gold Standard
There's a good reason TPLO has become the most widely performed surgery for CCL tears. It doesn't just add a suture or redirect muscle forces—it provides a permanent biomechanical solution by leveling the tibial plateau. This dynamic approach makes the knee stable from the moment your dog stands on it, completely independent of the torn ligament.
This superior, immediate stability is why TPLO is so often called the "gold standard." Surveys of board-certified veterinary surgeons consistently back this up.
Research shows that approximately 71% of American College of Veterinary Surgeons (ACVS) specialists choose TPLO over other techniques. This preference is backed by studies demonstrating that dogs undergoing TPLO return to a normal gait more quickly and reliably. They also experience lower rates of major complications and slower progression of arthritis compared to other methods. Discover more insights about these clinical comparisons and outcomes.
Because of these proven, reliable benefits, TPLO is the leading recommendation for medium to large breeds, athletic dogs, and any case where a durable, long-term return to full function is the main goal.
The table below gives a quick side-by-side look at how these common procedures stack up.
TPLO vs TTA vs ECR: A Comparison of CCL Surgeries
Ultimately, your veterinarian will recommend the best path forward for your dog's specific situation. But the consistent, reliable outcomes of TPLO surgery have firmly cemented its place as the top choice for restoring lasting, pain-free mobility.
Navigating the Cost of TPLO Surgery
When you’re told your dog needs a major procedure like TPLO surgery, it’s completely normal for your first thought to be, "Okay, how much is this going to cost?" Budgeting for your pet's care is a huge part of being a responsible owner, and understanding the financial side of things upfront helps take a lot of the anxiety out of the process.
It helps to think of the total cost not as just a single fee for an operation, but as a complete care package. A good surgical center will provide a comprehensive estimate that bundles everything needed for the best possible outcome, from the moment you walk in to the final follow-up appointment.
What Is Included in a TPLO Surgery Estimate
A flat-rate surgical fee is the best way to go because it gives you clarity and predictability—no surprise charges down the line. While the specifics can vary a bit between clinics, a typical all-inclusive TPLO estimate will cover:
Initial Consultation and X-rays: The first step to confirm the CCL tear and map out the surgical plan.
Pre-Operative Bloodwork: A critical safety check to make sure your dog is healthy enough to handle anesthesia.
Anesthesia and Monitoring: This covers the anesthetic drugs and, just as importantly, a dedicated technician monitoring your dog’s vital signs throughout the entire procedure.
The Surgical Procedure: The surgeon's time, skill, and expertise to perform the TPLO correctly.
Surgical Implants: The cost of the high-quality, medical-grade bone plate and screws used to stabilize the knee.
Post-Operative Medications: Pain relievers and antibiotics to take home to keep your dog comfortable and prevent infection.
Follow-Up Care: This includes recheck appointments, suture removal, and new X-rays after a few weeks to confirm everything is healing perfectly.
This bundled pricing ensures every part of your dog's journey is accounted for under one price. To get a better feel for veterinary pricing in general, you can learn more about what goes into the cost of dog surgery in our detailed guide.
Key Factors That Influence the Final Price
The final price tag for a TPLO surgery can swing quite a bit depending on a few key things. Your dog’s size is a big one—larger dogs need bigger implants, more anesthesia, and more time in surgery, all of which adds to the cost.
However, the two most significant factors are the surgeon's credentials and where you live. A board-certified veterinary surgeon will charge more than a general practitioner, but you're paying for an expert with advanced training and a much lower risk of complications.
The clinic's location plays a huge role. The cost for TPLO surgery can range from $3,500 to as high as $10,000 per knee in the United States. Major cities almost always fall on the higher end of that spectrum. This difference in price is seen all over the world, showing just how much local operating costs and demand can affect what you pay.
It's tough, but try to see this expense as a long-term investment in your dog’s comfort, mobility, and overall quality of life. While the upfront cost is significant, a successful TPLO prevents the chronic pain and crippling arthritis that come with an unstable knee. Ultimately, it gives your best friend back a happy, active life.
Your Dog's TPLO Recovery and Aftercare Plan
A successful TPLO surgery is a massive step forward, but the real work begins the moment your dog comes home. Your commitment to a structured aftercare plan is every bit as crucial as the surgeon's skill in the operating room. This recovery period, which usually takes about 12 weeks, is when the bone truly knits itself back together. Your new role? You're now your dog's dedicated rehabilitation partner, and it's up to you to guide them safely back to full strength.
Think of the first eight weeks as the "bone healing" phase. Right now, that surgically altered tibia is fragile. Yes, the plate and screws are holding everything in place, but they can't do it all. Too much activity—any running, jumping, or rough play—can lead to implant failure or prevent the bone from healing correctly. I know it's a challenge, especially with an energetic dog, but this is the most critical part of the entire process.
This guide will walk you through what to expect week by week, so you can feel confident managing each stage of their recovery.

The First Two Weeks: Immediate Post-Op Care
The recovery plan kicks into high gear the second you walk through the door. These first 14 days are easily the most restrictive, but they lay the foundation for a smooth healing journey. You should expect your dog to be groggy, sore, and maybe a little out of it from the anesthesia and pain meds. That's perfectly normal.
During this initial phase, your main jobs are managing their pain, keeping the incision clean, and enforcing what feels like a total lockdown.
Strict Confinement: Your dog must be in a crate or a small, secured room whenever you aren't right there with them. This is non-negotiable. It's the only way to prevent an accidental jump or stumble that could undo the surgeon's hard work.
Incision Care: Check the incision daily. You're looking for signs of infection, like excessive redness, swelling, any kind of discharge, or a bad smell. Keep it clean and dry. Never put any creams or ointments on it unless your vet specifically tells you to.
E-Collar is Mandatory: Your dog has to wear that "cone of shame" 24/7. Licking the incision is one of the top causes of infection and can create serious, expensive complications.
Leash Walks Only: Trips outside are for potty breaks and nothing more. Keep them on a short leash for very brief, slow walks—just long enough to do their business. No sniffing around, no exploring, no exceptions.
You'll also be in charge of their medication schedule. Pain relievers and anti-inflammatories are key to keeping them comfortable and managing post-op swelling. Administer everything exactly as prescribed.
The goal for these first two weeks is simple: protect the surgical site and let the initial healing begin without any disturbances. It’s hard to see an active dog so restricted, I get it. But this period of strict rest is absolutely essential for a good outcome.
Weeks Three to Eight: Building Strength Slowly
Once you get past the two-week recheck and the sutures are out, you can start to breathe a little easier—and so can your dog. Now, we can begin to gradually increase their activity. The bone is starting to mend, but it's nowhere near solid yet. The key word for this entire phase is controlled.
During this time, you'll slowly transition from those quick potty breaks to more structured, therapeutic walks. These aren't for burning off energy. Think of them as physical therapy. They are designed to encourage controlled weight-bearing, which is what tells the bone to heal and helps prevent all that leg muscle from wasting away.
Here’s a general timeline for increasing those walks:
Weeks 3-4: Start with short, slow leash walks of 5-10 minutes, two or three times a day. Stick to flat, even surfaces.
Weeks 5-6: If your dog is handling the short walks well, you can bump it up to 15-20 minutes. Your vet might also give you the okay for some simple at-home exercises, like gentle range-of-motion movements.
Weeks 7-8: Walks can now last up to 20-30 minutes. You may even be able to introduce small inclines or very supervised stair climbing (just one or two steps at a time, very slowly).
Remember, throughout this entire six-week block, all activity must stay on-leash. That means no running, no jumping, no playing with other dogs, and absolutely no off-leash time.
Weeks Nine to Twelve: The Final Stretch
Right around the eight-week mark, your vet will take another set of X-rays. This is the moment of truth. These images show us exactly how well the bone has healed. If the X-rays look great, your surgeon will finally give you the green light to start reintroducing more normal activities.
It’s an exciting milestone, but don't get ahead of yourself. Your dog’s muscles will be weak after months of being on light duty, so you have to recondition them slowly to avoid causing a new injury.
This final phase is all about gradually building back to full strength and stamina.
Longer Walks: Keep increasing the length and pace of your leash walks.
Introduce Off-Leash Time: Start with just a few minutes of supervised off-leash time in a secure, flat area like your backyard. See how they do, and increase the time little by little.
Reintroduce Play: You can start allowing gentle, controlled play. Hold off on high-impact stuff like fetching a ball or intense games of tug-of-war until your vet gives the all-clear.
By the end of week 12, most dogs are cleared to get back to their normal, happy, active lives. But every dog is an individual, and they all heal at their own pace. Following your surgeon’s specific advice is what matters most. Understanding the general timelines helps, and you can learn more by reading about the average dog surgery recovery time in our other resources.
A successful TPLO is a team effort. By following the aftercare plan to the letter, you become the most valuable player on your dog’s recovery team, ensuring they get back on all four paws for a long, happy life.
Common Questions About TPLO Surgery
Even after you've wrapped your head around the procedure, the costs, and the recovery timeline, it's totally normal to have a few more questions. Deciding on TPLO surgery for your dog is a big deal, and the best way to move forward is with confidence, not uncertainty.
This section tackles the most common "what ifs" and "but what abouts" we hear from pet owners. We'll give you straight, clear answers to help you feel fully prepared for the road ahead.
Does the Metal Plate Need to Be Removed?
This is a huge question for most owners, and the answer is usually a relief. For the vast majority of dogs, the surgical-grade plate and screws are there to stay for life.
These implants are made from biocompatible materials like titanium or stainless steel, which the body accepts without any trouble. Removal is only necessary in very rare cases—we’re talking less than 5% of all TPLO patients.
So, when would a plate need to come out?
An infection develops around the plate that antibiotics can't clear up.
The implant causes soft tissue irritation (this is uncommon).
The dog is sensitive to cold, and the plate seems to cause discomfort in winter.
If removal is ever needed, it's a much simpler and less invasive surgery than the original TPLO. It's only done long after the bone has fully healed, typically a year or more post-op.
Will My Dog Tear the CCL in the Other Knee?
Unfortunately, this is a very real possibility. Statistics show that dogs who rupture one CCL have a high chance of injuring the other one. Studies suggest this happens in about 40-60% of dogs, often within one to two years of the first tear.
This isn't just a string of bad luck. The same underlying issues that led to the first tear—like genetics, conformation (your dog's body structure), and degenerative changes—are present in both knees.
During the long recovery from the first TPLO, the "good" leg has to carry extra weight and handle more stress. This added load can speed up the breakdown of the second ligament, making a future tear more likely.
While you can't rewrite your dog's genetic code, you can help protect the other knee. Carefully managing their weight and committing to a structured rehab program are the best ways to support the remaining ligament. It's just important to be aware of the risk and keep an eye on the other leg for any new limping or instability.
Are There Any Real Non-Surgical Alternatives?
Yes, there are non-surgical options, but their success is extremely limited and depends almost entirely on the dog's size. This route, often called "conservative management," is a strict regimen of rest, anti-inflammatory meds, weight loss, and physical therapy.
For very small dogs—think under 25 pounds—this approach can sometimes work. The goal is to let enough scar tissue build up around the joint to create a decent amount of stability for a low-impact life.
For medium and large dogs, however, conservative management is rarely a good long-term fix. Without the mechanical stability that TPLO provides, the knee stays wobbly. This leads to constant pain, severe muscle loss, and the rapid onset of debilitating arthritis. While avoiding surgery sounds appealing at first, it often sentences bigger, more active dogs to a lower quality of life.
What Are the Most Common Complications?
TPLO has an excellent track record—over 90% of dogs get back to fantastic, functional lives. But it's still a major surgery, and like any operation, it comes with some risks. The good news is that serious complications are rare, and most issues are minor and easily managed.
The most common minor issue is some swelling or bruising at the incision, which usually fades on its own in a week or two. A more significant, though less common, complication is a post-op infection. This can be a surface-level skin infection or, more seriously, a deep infection around the bone plate.
Implant problems, like a loose screw or a shifting plate, are very rare. When they do happen, it's almost always because a dog was allowed to be too active, too soon, before the bone had a chance to heal properly.
Your role here is critical. The single best way to prevent complications is to be diligent. Sticking to the post-op recovery plan—especially the strict exercise restrictions for the first 8-12 weeks—is your best insurance policy for a smooth, successful outcome.
At Simon Veterinary Surgical, we believe that when it comes to your pet's health, there are no small questions. Our team is dedicated to providing expert care with all-inclusive, flat-rate pricing to ensure you feel supported from your initial consultation all the way through recovery. To get a second opinion or a free TPLO quote from our team of surgical specialists, please visit us at Simon Veterinary Surgical.